
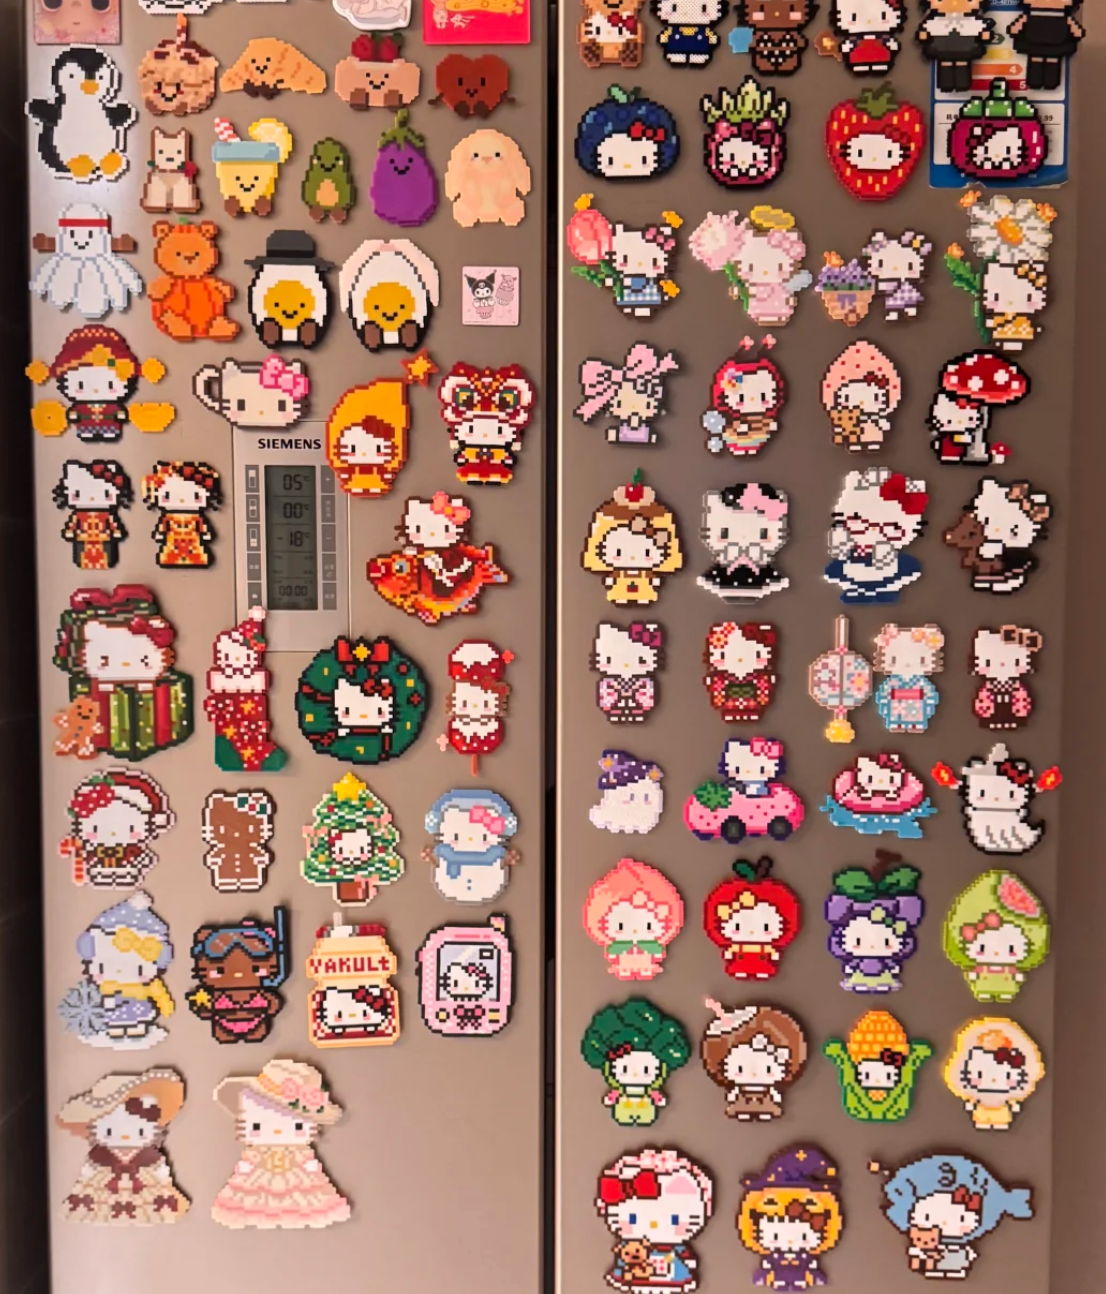
Key Takeaway: To make durable fuse bead magnets, use 2.6mm mini beads for high detail and aim for a 'flat melt' finish. A flat melt ensures the surface is smooth enough for the magnet adhesive to bond permanently without gaps.
I like these because they're a great way to use up those random leftover colors. You know the ones—the half-bag of neon orange or that weird shade of grey you bought for one specific project and never touched again.
Designing Your Pattern
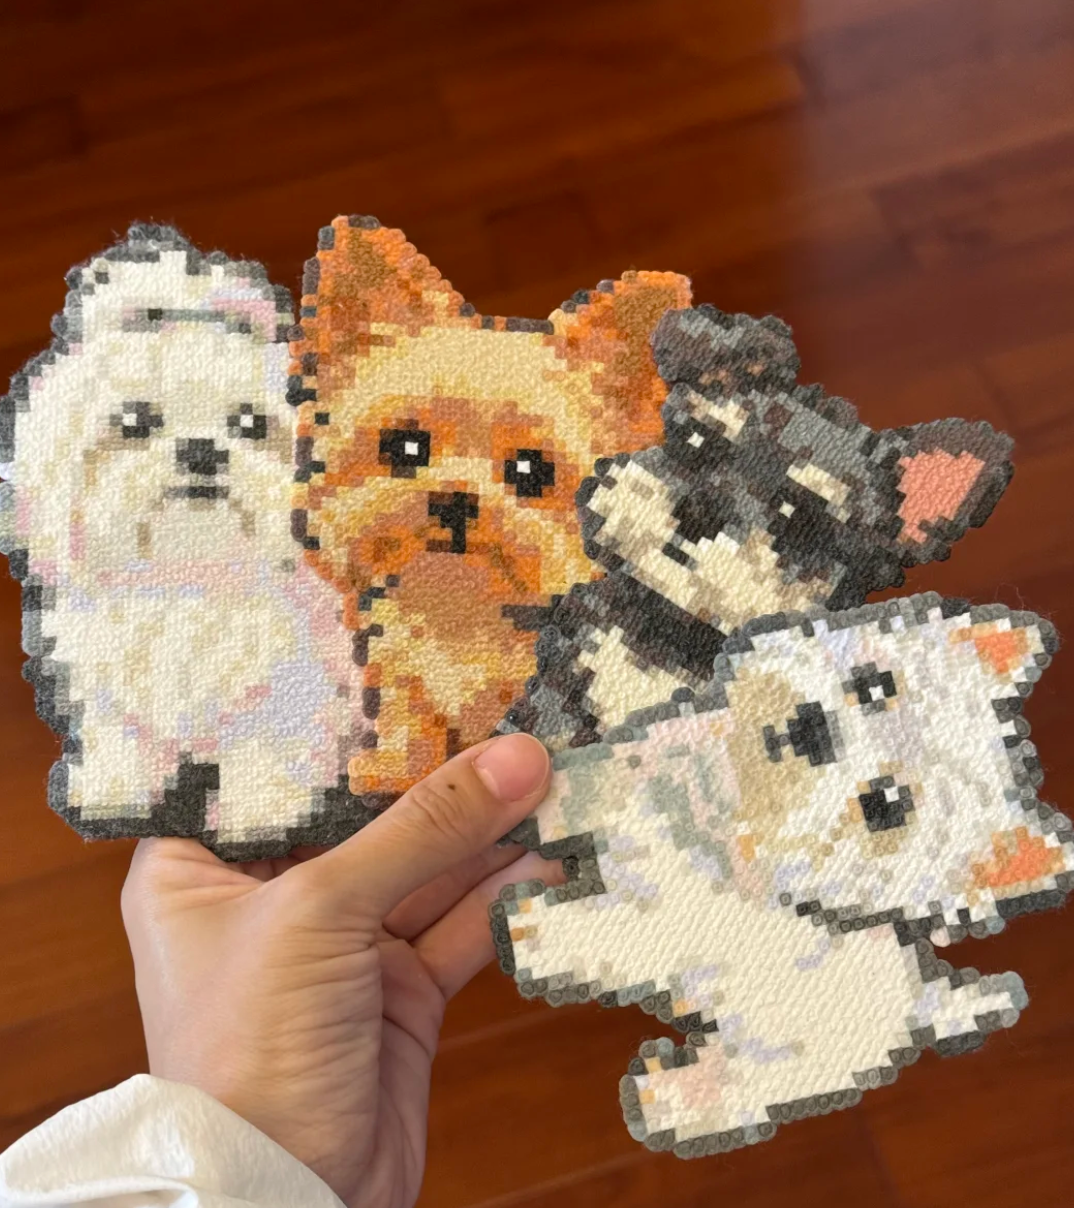
The biggest challenge with magnets is scale. If the design is too big, it's heavy and slides down the fridge. If it's too small, it looks like a blob. I usually aim for a grid size between 15 and 25 pegs wide.
The most efficient way to get the proportions right is using a tool like the Pixel-Pattern generator. You can upload a simple icon—think emojis, fruit, or small 8-bit characters—and it'll spit out a grid that fits a small pegboard perfectly.
Required Tools and Materials
| Item | Purpose |
|---|---|
| 2.6mm Mini Fuse Beads | Higher detail for small-scale art. |
| Small Pegboard | A 50x50 or smaller board is easier to rotate while ironing. |
| Iron & Parchment Paper | Standard household iron works fine. Avoid steam settings. |
| Magnet Sheets | Self-adhesive sheets are the easiest to cut to custom shapes. |
Assembly and Ironing
Place your beads following your digital pattern. I find it's best to work from the center out so you don't accidentally knock over the edges with your tweezers. It happens to the best of us.
Ironing is where most people mess up. For magnets, you want a flat melt. This means you iron until the holes in the center of the beads are completely closed. It makes the piece rigid and gives the magnet more surface area to stick to.
- Set your iron to medium heat. No steam.
- Use slow, circular motions. Don't press too hard or you'll squash the pegs on your board.
- Let it cool under a heavy book. This is non-negotiable. If it cools in the open air, it'll warp, and a curved magnet won't stay on your fridge.
Attaching the Magnet
Once the piece is cold—actually cold, not just 'not hot'—it's time for the backing. I've tried every glue under the sun, and honestly, self-adhesive magnet sheets are the way to go. They're thin enough to cut with regular scissors but strong enough to hold up a couple of sheets of paper.
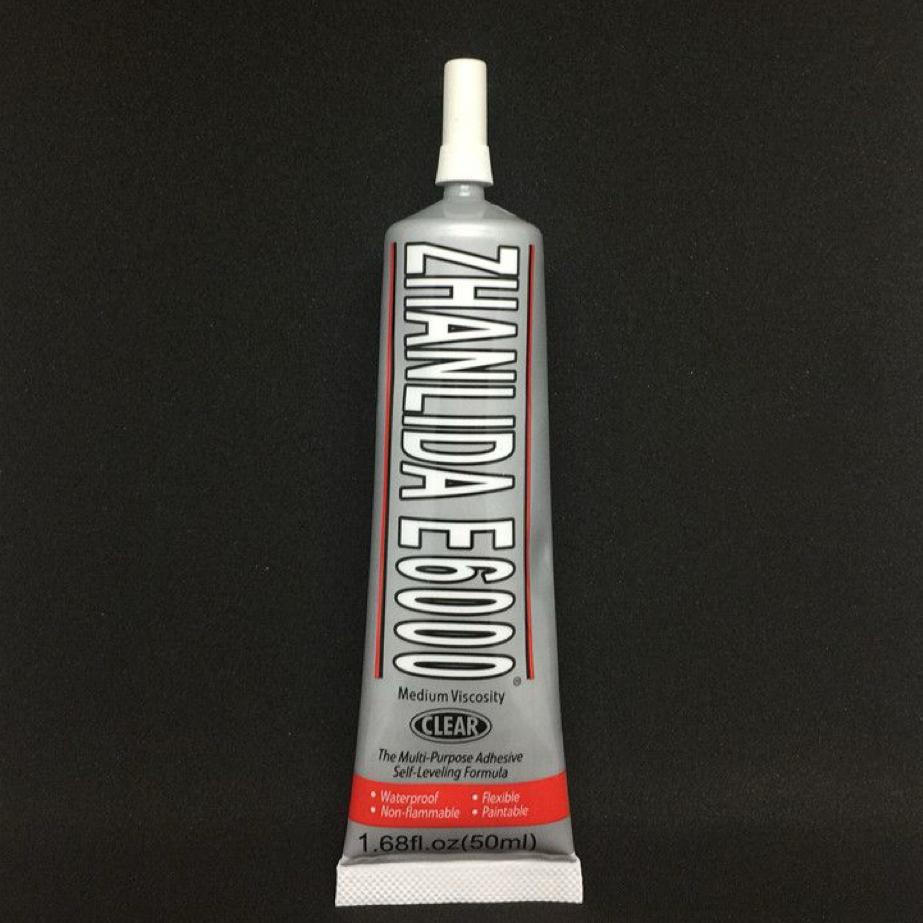
Trace your bead shape onto the magnet sheet with a pencil. Cut slightly inside the line so the magnet doesn't peek out from the edges. Peel, stick, and press down hard for about 30 seconds. If you're using a heavy design, you might need a drop of E6000 glue for extra security, but for mini beads, the built-in adhesive is usually plenty.
Quick Design Ideas
- Classic 8-bit hearts (Red and Pink)
- Tiny succulents or cacti
- Retro arcade ghosts
- Fruit slices (Watermelon and Kiwi work great in circles)
- Alphabet letters for spelling out names
Common Troubleshooting
The magnet keeps falling off: This usually happens because the back of the bead art isn't flat. If the beads aren't fully fused, there are too many air gaps. Give it another quick pass with the iron to smooth it out.
The piece is curling: You probably didn't let it cool under a weight. You can fix this by reheating it slightly and then immediately putting a heavy book on top until it's completely room temperature.